Soldering
| Documentation/Construction | /Soldering | Next Chapter |
Soldering
Placement of parts on the boards
Be aware that some parts need to be aligned in the right direction, e.g. all the ICs (more than 2 pins), diodes, LEDs and some capacitors (tantalum, electrolytic).
LEDs: Have an anode (+) and kathode (-). The kathode is usually marked with a flat side on the larger diodes. The smaller LEDs have a little arrow (triangle) on them, with the kathode on the side to which the arrow points. The boards usually also have a matching arrow on them. Only the LED1-3 on the SB are a bit too small for that. Here, the kathode is towards the edge of the board.
ICs: All ICs have a dot in one corner, indicating pin number 1. The boards, however, do not always point this pin out with a similar dot: Some instead show a half circle at one of the ends - ignore that one, and instead note that one side of the pin rows has a double line. Match this line with the side of the IC that is a little carved out.
Tantalum Capacitors: The dash marks positive (+) side
Soldering
/!\ Take care when soldering this, if you are a beginner in soldering. Some very small SMD-Components have to be soldered:
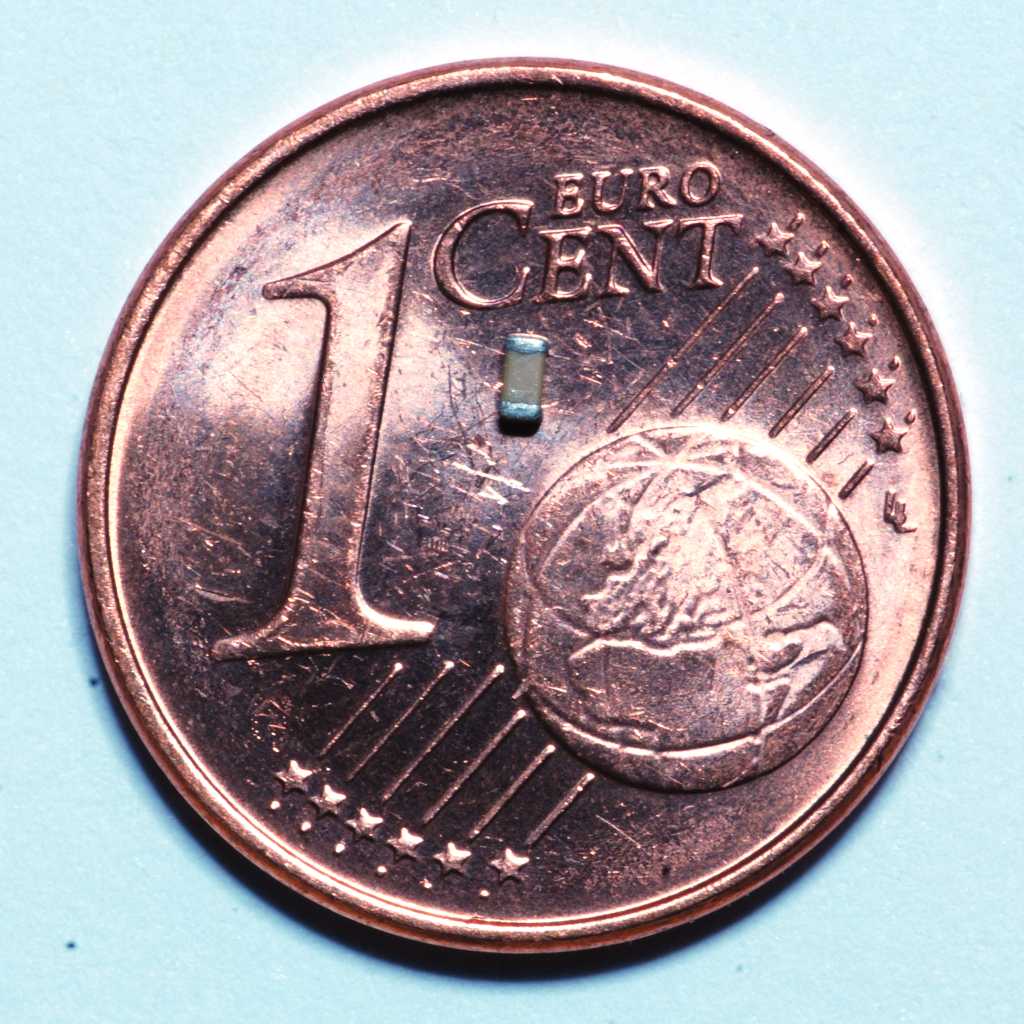
We start assembling our flight-control first, heat your soldering iron up to about 300-350°C. SMD-Soldering is quite simple if you observe some rules:
Don’t solder PB-Free if you are more or less beginner in this subject
Use solder flux, e.g. from a solder flux pen
Don’t start if you are in a bad mood, have time pressure or are hungry. Don’t drink caffeine. (You’ll need calm hands.)
Don’t solder ICs like the Atmel pin after pin. You may locally overheat it
Clean your PCB after soldering with a toothbrush and some Isopropanol alcohol (drugstore)
It can be helpful to print out the partlists, schematics and place.pdf as well as taking a high resolution picture of the unsoldered PCBs.
If you run into problems the following tips may be of help:
{i} First parts should be some “easy” ones. Take some SMD-Capacitors or SMD-Resistors to get a feeling for the process. If you never did something like this have a look at the following movie: http://www.youtube.com/watch?v=FGr3GRQdZZc (the interesting part starts after “IC fixieren”).
/!\ For better results without the need to remove extra solder, try “vertical drag soldering” by holding the PCB vertically.
See: http://www.youtube.com/watch?v=4V7tBPsECjc